Sunday 1 June 2014

Ventilation / Wind Deflectors

So, after buying one of the pet security guards with the thought that a) it would fit in the front window and b) I could use as more secure ventilation, it turned out neither of these things worked.
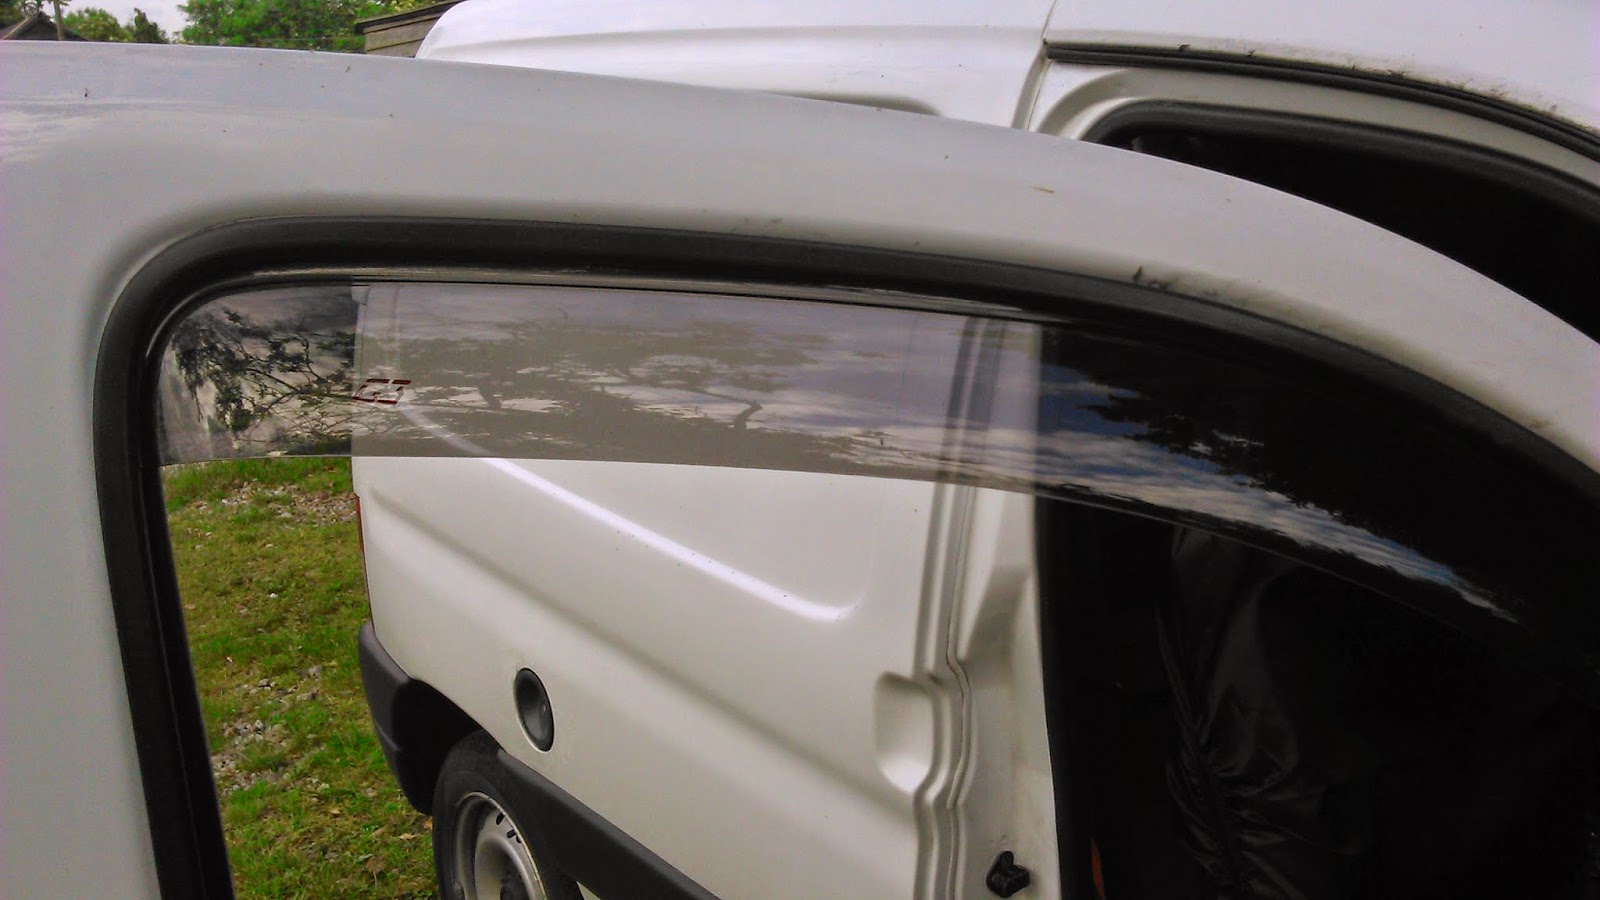
So, instead, I bought some wind deflectors, with the idea that I can have the window open a little at night and a) passerby's won't be able to see that the window is open and b)adds a tad bit of security, as it's harder to get a hand in the window etc

Apparently, they also increase fuel efficiency as they reduce drag when the windows are open etc, however, I've not tested this as yet, so not sure how true it is!

Wind deflector in place, window down

Window down

Window up, unable to get my hand in due to deflector

This shows the window open as above, but unable to see that it is open on this picture


Saturday 31 May 2014

Little Extras

Over the course of this build, I've added a few extra bits that might be useful for people to be aware of, so here they are:


The same method of attaching the curtain rail, I used the excess to hang a washing/hanging line in the back half of the van.


I used some simple 54p nail bed plates from Wickes to protect the carpet lining from repeated opening and closing of the rear doors.


 A cheap shoe organiser that normally goes behind doors was acquired from Dunelm for £3.50 and screwed onto the wall opposite for the bed for a very useful storage section.


The ultimate aim is to gain a leisure battery for use in the back of the van, or one that links to the main battery, to charge entertainment items such as laptop etc for those longer/wetter trips away. However, in the interim, this power inverter plugs into the cigarette lighter and can power your laptop, with another usb charging port too. Only cost me £17 from Lidl. Untested as yet, but I'm sure it will prove useful. Also fits in cup holder.

Mattress/Foam Covers


So I decided to split my foam mattress in half (to make it easier to store/transport and no fold crease in it) and make a cover for it, so I used the old sheet it was wrapped it and got to work!

Now, I'm not very good at sewing (at all!) so I used the below pictured heat bonding iron on stuff to hold the whole thing together:


I then ironed on some velcro strips to be able to close the flap to contain the foam, and to also stick to each other so that the two seperate pieces of foam don't slide away from each other during the night.
Wednesday 7 May 2014

Maiden Vogage

The van is finally ready for it's maiden voyage to Fontainebleau, just south of Paris in France, for a 4 day rock climbing trip.


Slept like a treat, no excess light etc, except it was a little chilly, so I had to buy a cheap duvet to go over the top of my sleeping bag 
I think this was due to no roof insulation, so all the heat was lost there, so that's a task for a bit further down the line.
Much easier to pitch and to get dressed etc etc in than a tent though!

Sunday 27 April 2014

Rear window covers

So, I decided not to cover the rear windows with just a curtain, as it hung in the way of the bed area and let light in around it, so I wanted a firmer fitting, so I came up with the idea of sticking two shaped sections of carpet together and attaching them to the security grills via small bulldog clips, which seemed to do the job marvelously!


Saturday 26 April 2014

Sleeping Arrangements

The blank slate:


So, I wanted to design a bed that could fold up against the back wall, to allow for full loading of the van if required (i.e. not have to stack anything ontop of the bed space).

So I turned the van itself, and my surrounding parking space into my own little workshop! 
 

First snag: - however, I could not build a bed the whole length of the loading area (I knew I'd need a bit to fold out into the area behind the drivers seat) due to two reasons, the first being the curved nature of the side of the van meaning that the back end of the van would not fold away behind the doors, and the second reason being the hinges that open with the door folded back in the way of where the bed would fold up, therefore I had create a dual hinge system that would fold forwards into the drivers area, and backwards into the last foot of the van, around the hinge area.


Piano hinges used to fold the extra sections away

Bed nicely folded away out of the way


The legs:

For the legs of the bed, I came up with the idea of using poles connected to the base of the bed that could easily slide in and out for ease of building/storing the bed.
I used wardrobe rails and fittings as below:


The snag with these legs is that the fixtures I used don't hold the legs down horizontally, there is a degree of lateral flex, however, when I store boxes underneath the bed, it removes the need for these legs anyway! 
I'm now thinking of changing this design to a boot camper style that slips in the front part of the loading area and folds out, but that's for a later improvement.

The mattress:

I got a custom sized piece of foam and just wrapped a sheet around it (for the time being) that fits along the length of the bed.


Note to self: don't use a twig-coloured pencil - I kept losing it on the grass by my van!

Can you spot the pencil?!

Wednesday 23 April 2014

Carpetting

I acquired some cheap grey carpet from a friend who had some left over from doing a similar project with a bigger van, so I used this to cover the plywood for extra insulation, and to give it a homelier feel. 
This took some doing, and was a bit of a messier job than first thought as I glued and staple-gunned the carpet with stables (obviously) and used building PVA, then cut the overlap with a craft knife